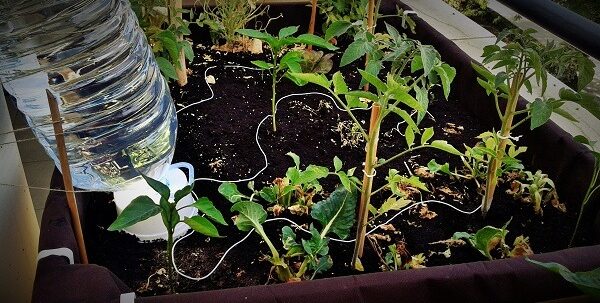
・Irrigation system by cord or cotton fabric:
A method of homemade irrigation is that of the cord or strip of cotton cloth. In this case, a strip of cloth soaked in water comes out of the container or bottle that contains the water and is inserted into the soil of the plant to be watered, acting as a “drinking straw” for the vegetable.

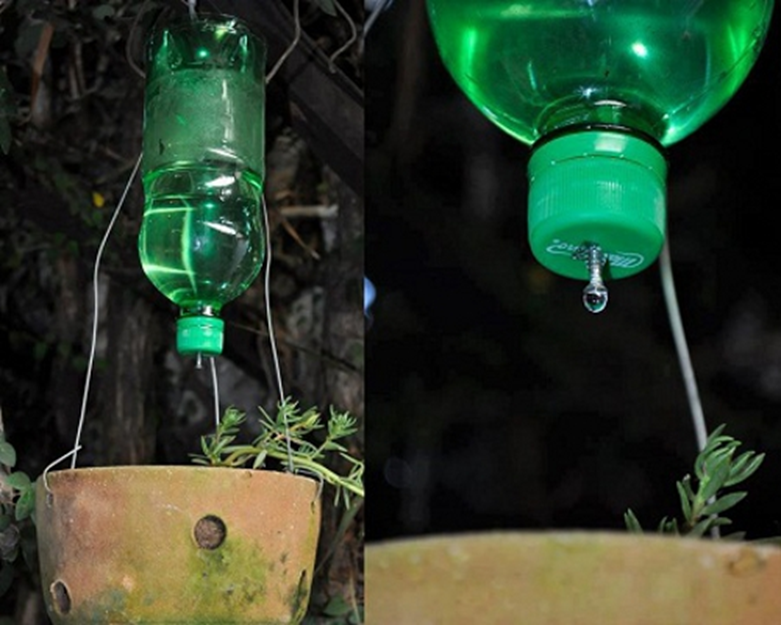
・Homemade drip irrigation system with screws:
A second method of irrigation would be the homemade dripper and would consist of filling a bottle with water, closing it well with a cap and applying a small hole with the help of a needle. The bottle would be placed directly upside down on the plant soil, or else hung upside down on top of it.
Depending on the size of the hole, the bottles would empty at a greater or lesser speed, so a little testing would have to be done to make sure that we do not leave the plant with little water or, on the contrary, that it has too much water. For this reason, I recommend making the hole with a screw and let the screw itself as a dispenser.
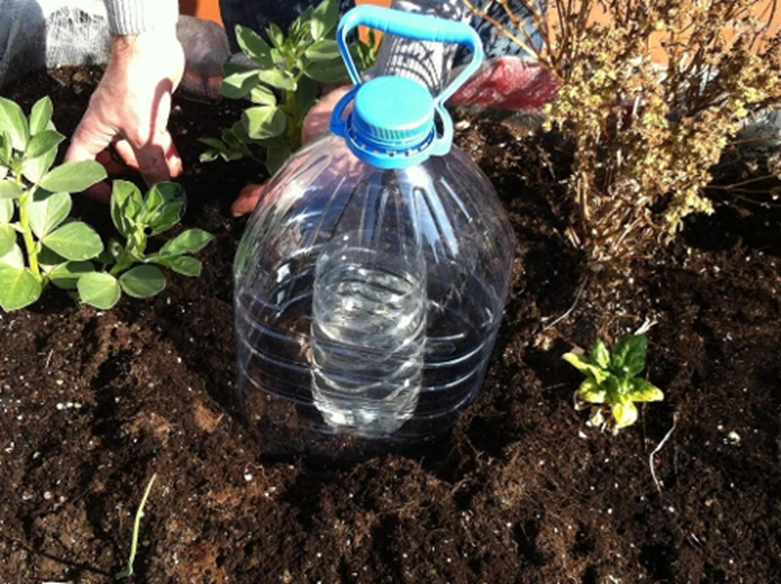
・Evaporation-condensation irrigation system:
The third method of home irrigation would be based on an evaporation-condensation system, also known as “solar drip”. It is as simple as using the lower half of a bottle as a container for water and the upper half of another larger bottle as a roof or greenhouse. When the sun heats the whole, part of the water in the container evaporates and the water vapor cools against the walls of the larger bottle, dripping and watering the plant.

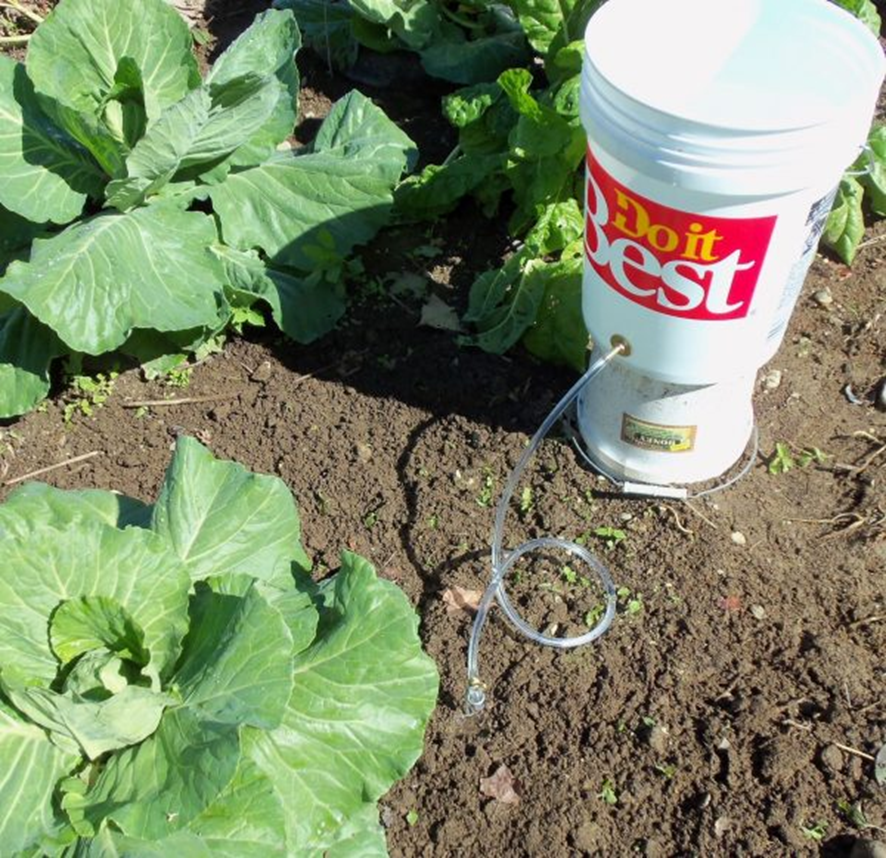
・Plastic bucket drip irrigation system:
Let’s see how we can transform a plastic bucket into a drip irrigation system.
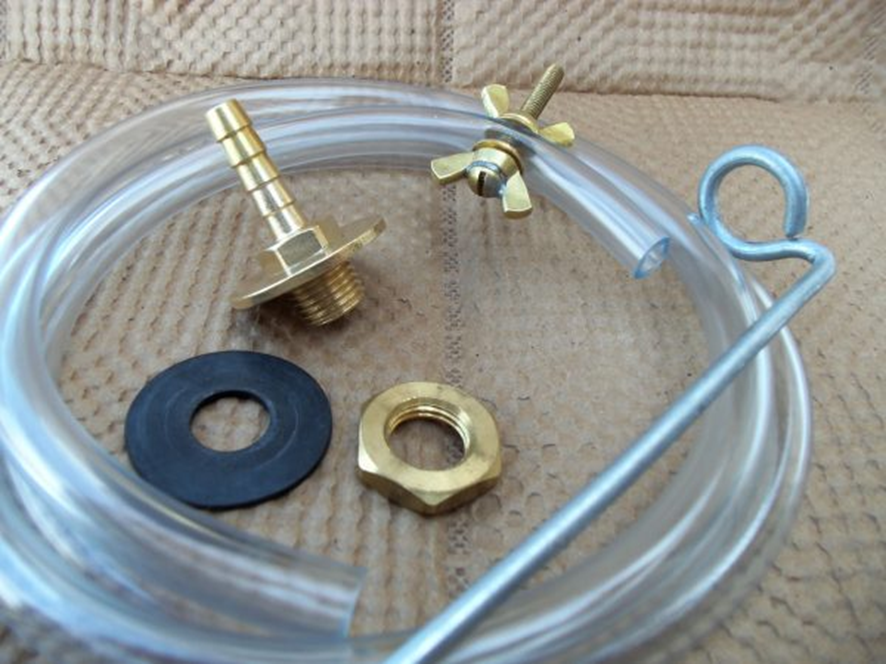
We need:
-A hose connector
-Washers
-Nuts
-Rubber washer
-Approximately 1 meter of hose
-A screw
-2 wing nuts
-Wire or iron peg
-A plastic bucket
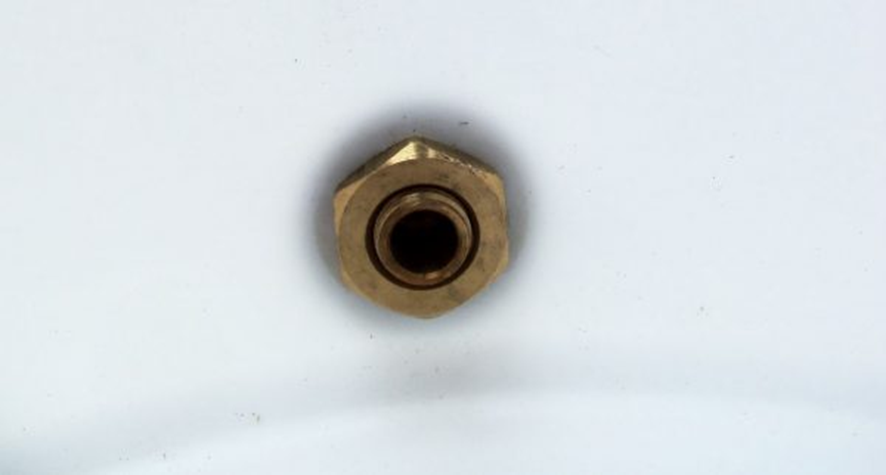
We make a hole the size of the hose connector in the bottom of the plastic bucket. We will make it about 3 cm above the bottom of the bucket so that we can use the corresponding wrench to tighten the nut well. Do not forget to put the metal washer and the rubber washer on the outside of the connector.
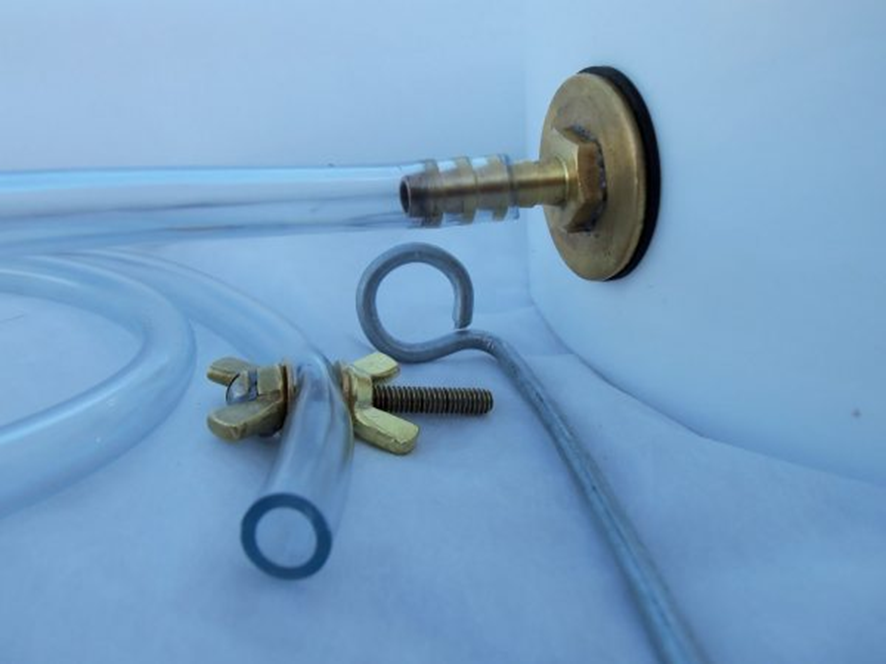
We will connect the hose to the hose connector. And now we can place the screw with the wing nuts at the other end of the hose. Its task will be to be able to graduate the amount of water that has to come out.
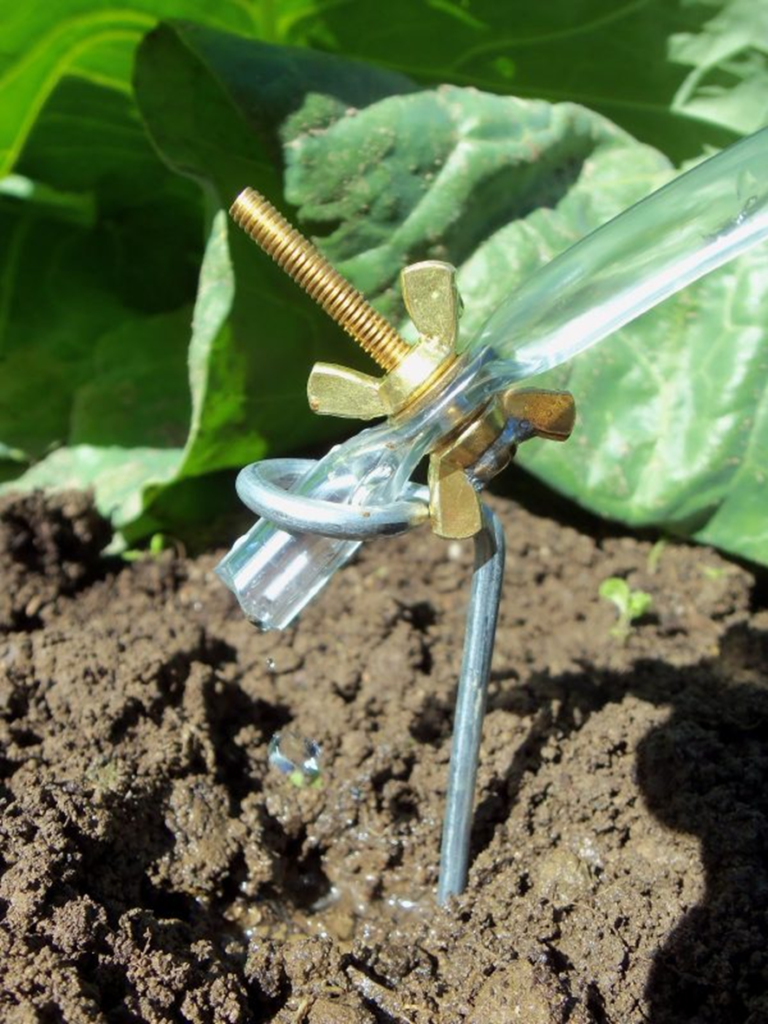
We will place the bucket in the indicated place, where we want to water. It is convenient to put the plastic bucket on any solid object that allows it to be raised a little. This way we will enjoy greater water pressure. Once we have the point where we want the irrigation to take place, we will put the wire or the iron peg and place the end of the hose. Now we only have to fill the bucket, adjust the screw and water.